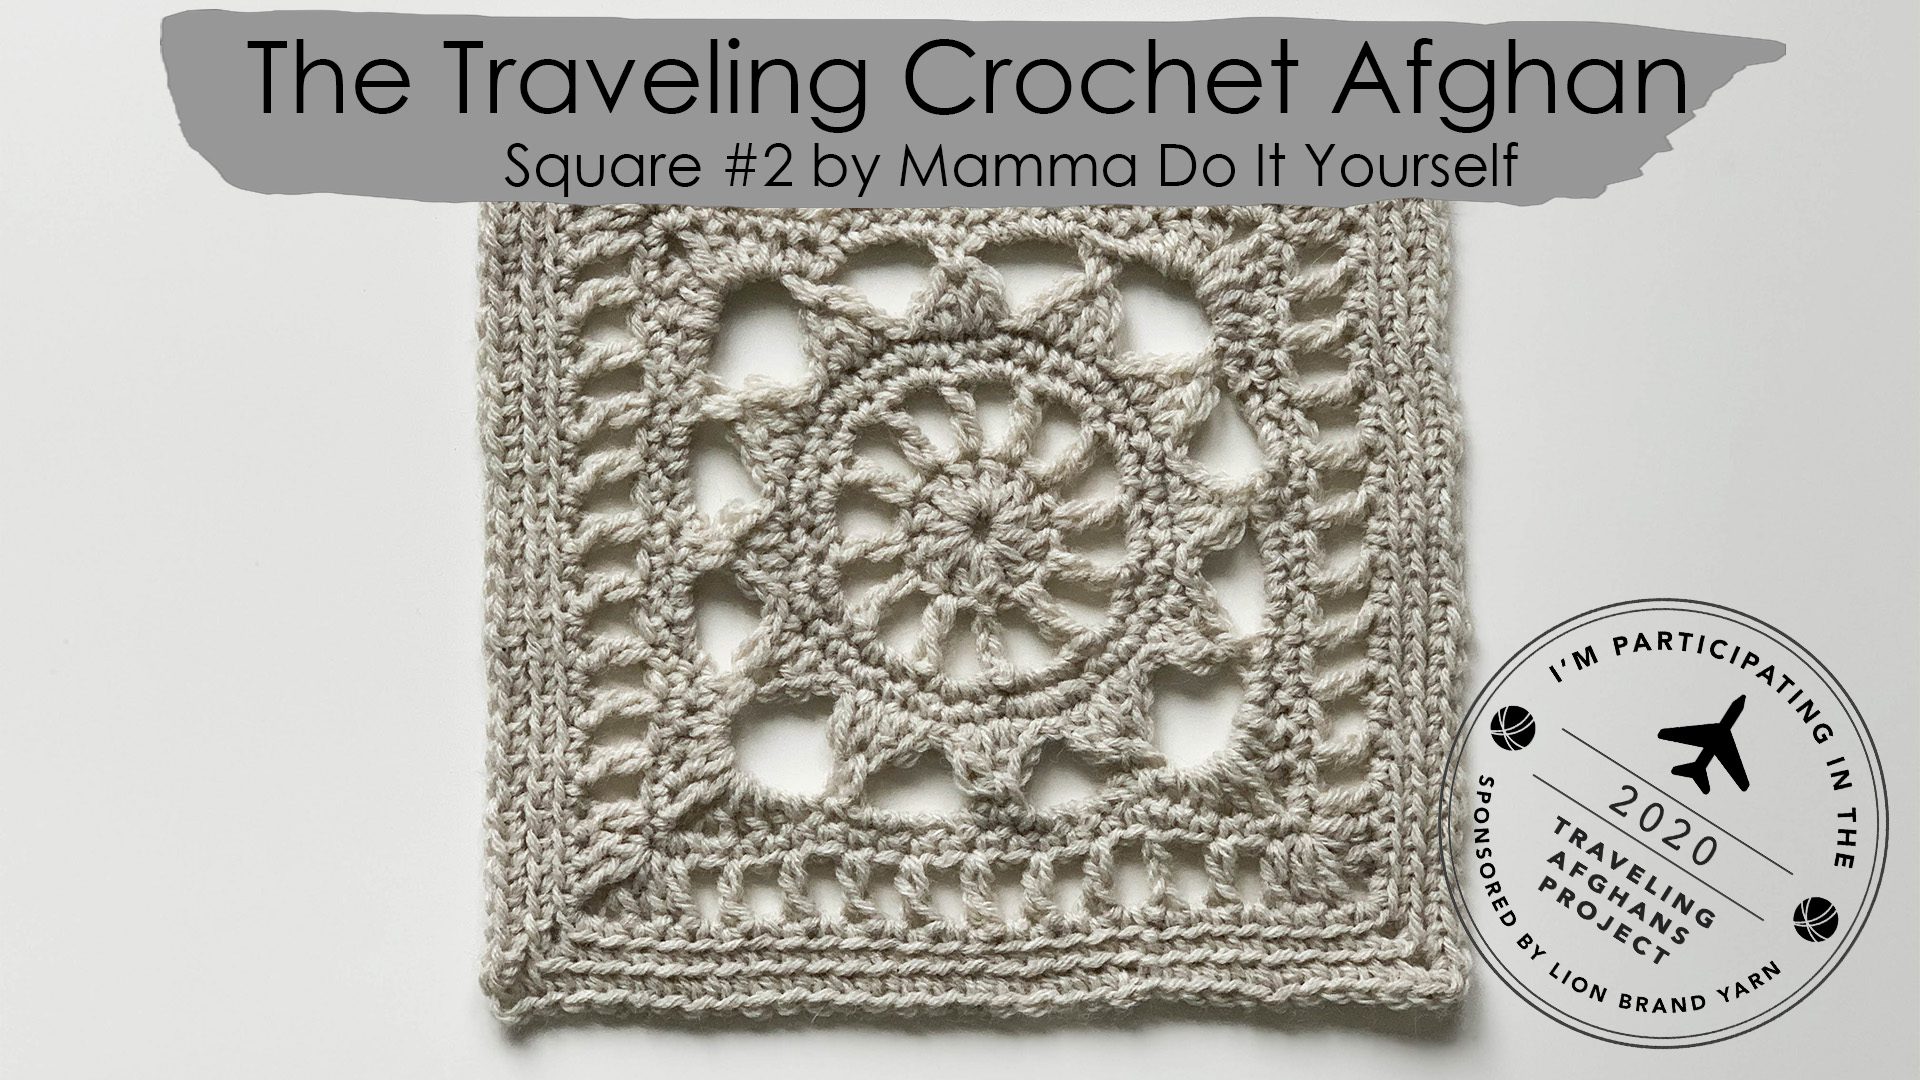
Ya está listo el Cuadrado 2 de la Manta Viajera de Crochet // The Traveling Crochet Afghan Square 2 it’s ready !!
¡Hola, qué tal! (english below)
Desde que me invitaron a participar en este super proyecto estoy más que nerviosa.
Alexandra Travel de @twoofwands junto a la marca de lanas Lion Brand Yarns lo han hecho posible.
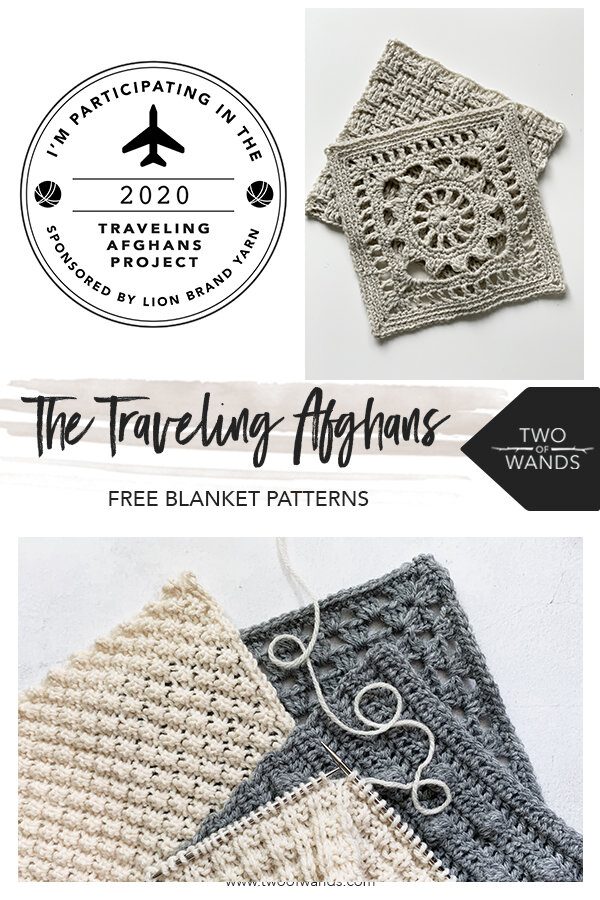
Más de 45 diseñadores de todo el planeta vamos a ir creando una Manta de Crochet y otra Manta de Punto, que irá viajando cada 2 semanas durante el transcurso de 1 año, para que cada diseñador pueda agregar y publicar su Granny Square, así tú también puedes tejerlo.
Es un proyecto colaborativo de lo más bonito, espero que te guste.
Los demás diseñadores lo harán en inglés, son tutoriales muy fáciles y la mayoría irán acompañados de vídeos, yo he tardado un poquito más de la cuenta en publicar mi cuadradito, ya que lo haré en inglés y español, como suelo hacer, espero que la espera haya valido la pena.
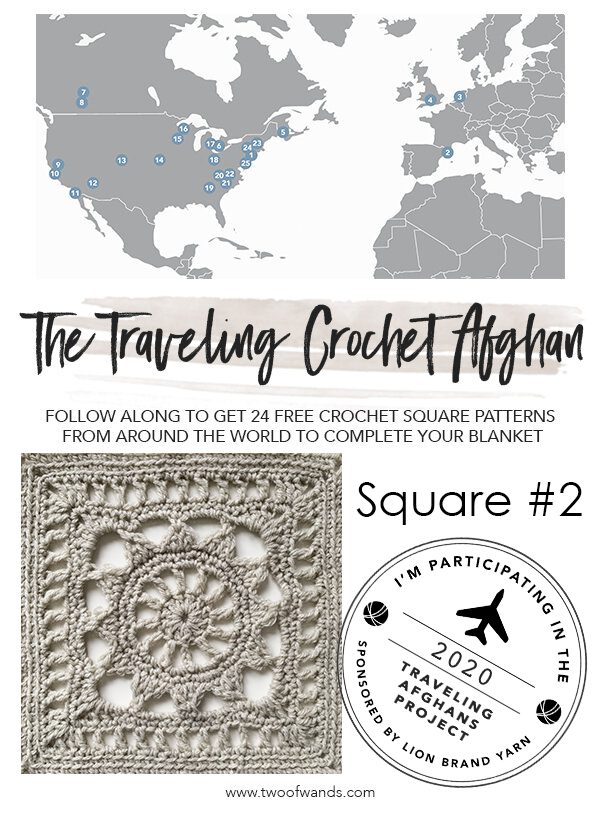
Podéis ver el avance de esta manta HACIENDO CLIC AQUÍ, donde encontraréis el mapa para ir siguiendo la trayectoria de la manta y también los enlaces directos a cada tutorial.
El Patrón y Tutorial está disponible de manera completamente GRATUITA aquí en mi Blog, sin embargo hay una versión PDF, que te puedes descargar en tu móvil, Tablet o PC, e incluso imprimirla. Esta versión descargable, está disponible en mi Ravelry Store a un precio simbólico de 3 €, con el cual podrás apoyar mi proyecto para poder seguir adelante.
¿Estás preparada?
Hi, how are you?
Since I was invited to participate in this super project I am more than nervous!
Alexandra Travel of @twoofwands with Lion Brand Yarns have made it possible!
More than 45 designers from all over the planet will be creating a Crochet Blanket and another Knit Blanket, which will be traveling every 2 weeks during the course of 1 year, each designer can add and publish their Granny Square, so you too you can make it!
It is a most beautiful collaborative project, I hope you like it!
The other designers will do it in English, they are very easy tutorials and most will be accompanied by videos, I have taken a little more time to publish my square, since I will do it in English and Spanish, as I usually do, I hope worth it.
You can see the progress of this blanket CLICKING HERE, where you will find the map to go along the path of the blanket and also the direct links to each tutorial.
The Pattern and Tutorial is available completely FREE here in my Blog, however there is a PDF version, which you can download to your mobile, Tablet or PC, and even print it. This downloadable version is available in my Ravelry Store at a symbolic price of € 3, with which you can support my project to move forward.
Are you ready ?, LETS GO!
 El Patrón (english below)
Materiales:
- 50 gramos de Wool Ease de Lion Brand Yarns, 1 ovillo = 85 gr / 180 m / 3 oz / 197 yd. Calibre Worsted. Composición 80% acrílico, 20% lana. Color 98 gris muy claro.
- Aguja Crochet 6 mm / US J10.
- Tijeras.
- Aguja lanera para esconder hebras al final.
- Marcadores de punto.
Abreviaturas:
Si haces CLIC en las palabras o letras azules, te llevará al vídeo tutorial de mi Canal de Youtube!
P: Punto(s)
V: Vuelta(s)
VA: Vuelta Anterior
PR: Punto Raso
PBHT: Punto Bajo en Hebra Trasera
* / ** : Repetir instrucciones que se encuentran entre asteriscos.
[] : repetir las instrucciones que se encuentran dentro de los corchetes.(): se indica el total de P al final de cada V o cualquier aclaración que se necesite en ese momento de la explicación.
Medidas Finales:
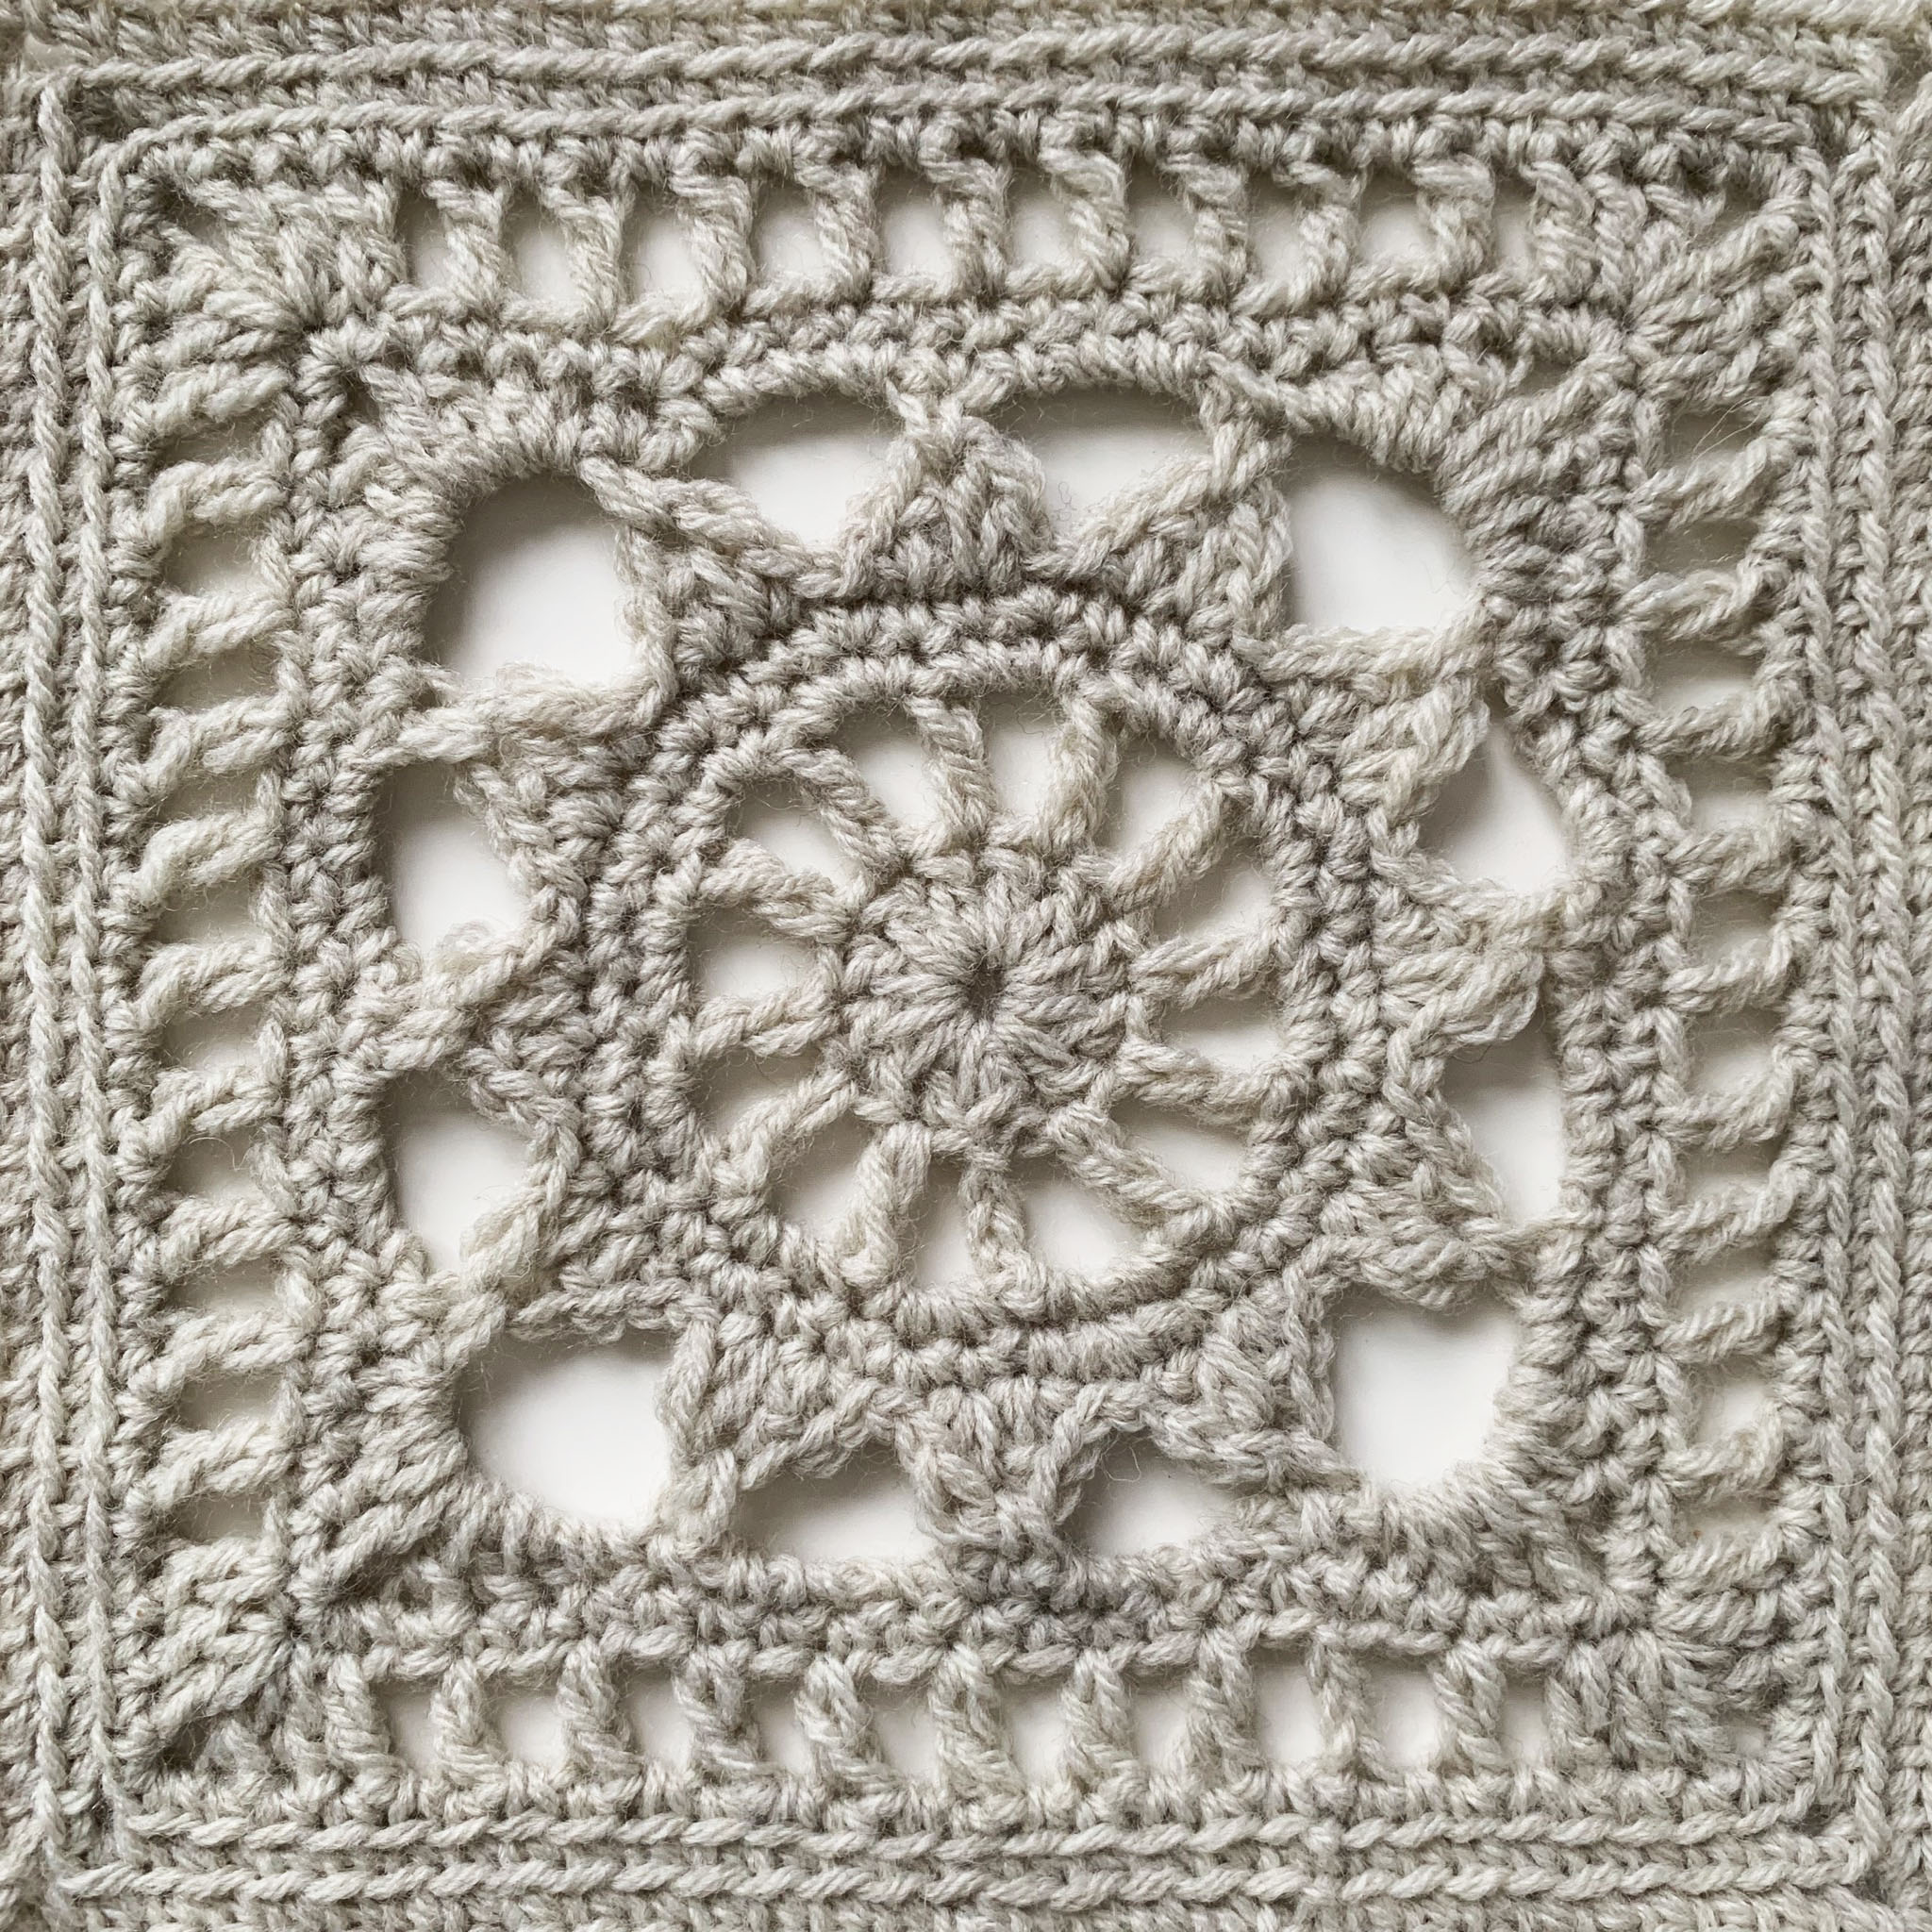
Tu Granny Square deberá medir un total de 25 cm por 25 cm.
El Vídeo Tutorial
Instrucciones
Comenzar con 4 CAD, unir la primera con la última con 1 PR formando un anillo.
Vuelta 1: 3 CAD (cuenta como 1 PA), tejer 11 PA dentro del anillo. Finalizar esta V con 1 PR en la 3º CAD de las 3 CAD del inicio. (12 PA)
Vuelta 2: 5 CAD (las primeras 3 CAD cuentan como 1 PA), *en el siguiente PA tejer 1 PA, 1 CAD*, repetir desde * a * 10 veces más. Finalizar esta V con 1 PR en la 3º CAD de las 5 CAD del inicio. (12 PA, 12 CAD, total 24 P)
Vuelta 3: tejer 1 PR dentro del siguiente espacio de 2 CAD, 1 CAD (no cuenta como 1 P), 3 PB dentro del mismo espacio de 2 CAD, tejer 3 PB dentro de cada espacio de 2 CAD. Finalizar esta V con 1 PR en el 1º PB de esta misma V. (36 PB)
Vuelta 4: tejer 1 PR en cada uno de los siguientes 2 PB de la VA, para comenzar esta V en el 3º PB. 1 CAD (no cuenta como 1 P), 1 PB en el 3º PB de la VA, 1 PB en el siguiente P. *En el siguiente P tejer 2 PB, 1 PB en cada uno de los siguientes 2 P*. Repetir desde * a * 10 veces más. En el siguiente P tejer 2 PB. Finalizar esta V con 1 PR en el 1º PB de esta misma V. (48 PB)
Vuelta 5: En el 1º P tejer [1 CAD (no cuenta como 1 P), 1 PB, 1 PA], en el siguiente P tejer [1 CAD, 1 PA, 1 PB]. *Tejer 1 PR en cada uno de los siguientes 2 P. En el siguiente P tejer [1PB, 1 PA]. En el siguiente P tejer [1 CAD, 1 PA, 1 PB]*. Repetir desde * a * 10 veces más. Tejer 1 PR en cada uno de los siguientes 2 P. Finalizar esta V con 1 PR en el 1º PB de esta misma V. (8P en cada rayo de sol = 2 PR, 1 PB, 1 PA, 2 CAD, 1 PA, 1 PB. Total 96 P)
Vuelta 6: tejer 1 PR en el siguiente PA y en el siguiente espacio de 1 CAD de la VA. 1 CAD (no cuenta como 1 P) y 1 PB en el mismo espacio, 5 CAD. *En el siguiente espacio de 1 CAD tejer 1 PB, 5 CAD*. Repetir desde * a * 10 veces más. Finalizar esta V con 1 PR en el 1º PB de esta misma V. (12 arcos de 6 P = 1 PB, 5 CAD. Total 72 P)
Vuelta 7: tejer 1 PR en el siguiente espacio de 5 CAD. 1 CAD (no cuenta como 1 P). Dentro de ese mismo espacio de 5 CAD tejer [1 PB, 1 PMA, 2 PA, 2 CAD, 2 PA, 1 PMA, 1 PB (1º esquina)]. *En el siguiente PB de la VA tejer 1 PB. [En el siguiente espacio de 5 CAD tejer 4 PB. En el siguiente PB tejer 1 PB] x 2*. **En el siguiente espacio de 5 CAD tejer [1 PB, 1 PMA, 2 PA, 2 CAD, 2 PA, 1 PMA, 1 PB (2º esquina)]**. Repetir desde * a * 1 vez más. Repetir desde ** a ** 1 vez más (3º esquina). Repetir desde * a * 1 vez más. Repetir desde ** a ** 1 vez más (4º esquina). Repetir desde * a * 1 vez más. Finalizar esta V con 1 PR en el 1º PB de esta misma V. (4 esquinas de 10 P = 1 PB, 1 PMA, 2 PA, 2 CAD, 2 PA, 1 PMA, 1 PB. 4 lados de 11 PB. Total 84 P)
Vuelta 8: 1 CAD (no cuenta como P). Tejer 1 PB en cada P de la VA. En los espacios de 2 CAD que conforman las esquinas tejer 3 PB. Finalizar esta V con un PR en el 1º PB de esta misma V. (92 PB)
Vuelta 9: 4 CAD (las primeras 3 CAD cuentan como 1 PA). Saltar 1 P de la VA. En el siguiente P tejer 1 PA. 1 CAD. Saltar 1 P de la VA. *En el siguiente P tejer 1 PA. En el PB central de los 3 PB de la esquina de la VA tejer [2 PA, 2 CAD, 2 PA (1º esquina)]*. **En el siguiente P tejer [1 PA, 1 CAD]. Saltar el siguiente P**. Repetir de ** a ** 9 veces más. Repetir de * a * 1 vez más (2º esquina). Repetir de ** a ** 10 veces más. Repetir de * a * 1 vez más (3º esquina). Repetir de ** a ** 10 veces más. Repetir de * a * 1 vez más (4º esquina). Repetir de ** a ** 8 veces más. Finalizar esta V con 1 PR en la 3º CAD de las 4 CAD del inicio de esta misma V. (4 esquinas de 6 P = 2 PA, 2 CAD, 2 PA. 4 lados de 21 P = 11 PA, 10 CAD. Total 108 P)
Vuelta 10: 1 CAD (no cuenta como 1 P), tejer 1 PB en cada uno de los siguientes P de la VA. En los espacios de 2 CAD que conforman cada esquina tejer 3 PB. Finalizar esta V con 1 PR en el 1º PB del inicio de esta misma V. (116 PB)
Vuelta 11 y 12: 1 CAD (no cuenta como 1 P), tejer 1 PBHT en cada uno de los siguientes P de la VA. En el PB central de los 3 PB de cada esquina tejer 3 PBHT. Finalizar V11 con 1 PR en el 1º PB del inicio de esta misma V. (124 PBHT). Finalizar V12 con tu aguja lanera y Cierre Mágico, esconder hebras entre el tejido y cortar! (132 PBHT)
Final:
Con tu aguja lanera esconde todas las hebras restantes entre el tejido y corta al ras con una tijera.
En los finales de V que quedan al descubierto, puedes realizar el Cierre Mágico para que quede más prolijo.
Bloqueo de la prenda:
Te recomiendo bloquear tu prenda antes de estrenarla.
Para saber cómo se bloquea una prenda puedes ver el siguiente VIDEO TUTORIAL.
Muchísimas gracias por tu participación, gracias por colaborar con Mamma! DIY, y espero poder continuar con este proyecto, y aportar mi granito de arena a mejorar cada día nuestro mundo.
¡Que tengas una hermosa vida!
Me encantaría que compartas la foto de tu proyecto en Ravelry, si no sabes cómo hacerlo puedes mirar este VIDEO TUTORIAL o en IG, etiquétame por favor como @mammadiypatterns! Y utiliza el Hashtag #mammadiy o #mammadiypatterns
Te espero!
The Pattern
Materials:
- 50 grs of Wool Ease by Lion Brand Yarns, 1 skein = 85 gr / 180 m / 3 oz / 197 yd. Worsted weight. Composition 80% acrylic, 20% wool. Color 98 light grey.
- Crochet Hook 6 mm / US J10.
- Scissors
- Tapestry Needle
- Stitch Markers (optional)
Abbreviations:
ST: Stitch(es)
R: Row or Round
PR: Previous Row or Round
CH: Chain Stitch
SL ST: Slip Stitch
SC: Single Crochet
HDC: Half Double Crochet
DC: Double Crochet
SCBL: Single Crochet in Back Loop only.
* / ** : indicates all you have to repeat between asteroids
( ) : indicates total sts of each round, color, RS or WS, etc.
[ ] : work everything that is inside brackets, as indicated in the instructionsFinal Measurements:
25 cm x 25 cm // 10″ x 10″
Video Tutorial
Instructions
Start with 4 CH, join the first with the last ST with 1 SL ST forming a ring.
Round 1: 3 CH (count as 1 DC), make 11 DC inside the ring. Finish this R with 1 SL ST in the 3rd CH of the 3 CH of the beginning. (12 DC)
Round 2: 5 CH (the first 3 CH count as 1 DC), * in the next DC make [1 DC, 2 CH] *, repeat from * to * 10 times more. Finish this R with 1 SL ST in the 3rd CH of the 5 CH of the beginning. (12 DC, 24 CH, total 24 STs)
Round 3: make 1 SL ST within the next space of 2 CH, 1 CH (does not count as 1 ST), 3 SC within the same space of 2 CH, make 3 SC within each space of 2 CH. Finish this R with 1 SL ST in the 1st SC of the beginning. (36 SC)
Round 4: make 1 SL ST in each of the next 2 SC of PR, to start this R in the 3rd SC. 1 CH (does not count as 1 ST), 1 SC in the 3rd SC of PR, 1 SC in the next SC. * In the next ST make 2 SC, 1 SC in each of the next 2 STs *. Repeat from * to * 10 more times. In the next ST make 2 SC. Finish this R with 1 SL ST in the 1st SC of the beginning. (48 SC)
Round 5: In the 1st ST make [1 CH (does not count as 1 ST), 1 SC, 1 DC], in the next ST make [1 CH, 1 DC, 1 SC]. * make 1 SL ST in each of the following 2 STs. In the next ST make [1SC, 1 DC]. In the next ST make [1 CH, 1 DC, 1 SC] *. Repeat from * to * 10 more times. Make 1 SL ST in each of the following 2 STs. Finish this R with 1 SL ST in the 1st SC of the beginning. (8 STs in each sunbeam = 2 SL ST, 1 SC, 1 DC, 2 CH, 1 DC, 1 SC. Total 96 STs)
Round 6: make 1 SL ST in the next DC and in the next space of 1 CH of PR. 1 CH (does not count as 1 ST) and 1 SC in the same space, 5 CH. * In the next space of 1 CH make 1 SC, 5 CH *. Repeat from * to * 10 more times. Finish this R with 1 SL ST in the 1st SC of the beginning. (12 arcs of 6 STs = 1 SC, 5 CH. Total 72 STs)
Round 7: make 1 SL ST in the next arc of 5 CH. 1 CH (does not count as 1 ST). In the same arc of 5 CH make [1 SC, 1 HDC, 2 DC, 2 CH, 2 DC, 1 HDC, 1 SC (1st corner)]. * In the next SC of PR make 1 SC. [In the next arc of 5 CH make 4 SC. In the next SC, make 1 SC] x 2 *. ** In the next arc of 5 CH make [1 SC, 1 HDC, 2 DC, 2 CH, 2 DC, 1 HDC, 1 SC (2nd corner)] **. Repeat from * to * 1 more time. Repeat from ** to ** 1 more time (3rd corner). Repeat from * to * 1 more time. Repeat from ** to ** 1 more time (4th corner). Repeat from * to * 1 more time. Finish this R with 1 SL ST in the 1st SC of the beginning. (4 corners of 10 STs = 1 SC, 1 HDC, 2 DC, 2 CH, 2 DC, 1 HDC, 1 SC. 4 sides of 11 SC. Total 84 STs)
Round 8: 1 CH (does not count as 1 ST). Make 1 SC in each ST of PR. In the 2 CH arcs of each corner make 3 SC. Finish this R with a SL ST in the 1st SC of the beginning. (92 SC)
Round 9: 4 CH (the first 3 CH count as 1 DC). Skip 1 ST of PR. In the next ST make 1 DC. 1 CH. Skip 1 ST of PR. * In the next ST make 1 DC. In the central SC of the 3 SC of the corner of PR make [2 DC, 2 CH, 2 DC (1st corner)] *. ** In the next ST make [1 DC, 1 CH]. Skip the next ST **. Repeat ** to ** 9 more times. Repeat from * to * 1 more time (2nd corner). Repeat ** to ** 10 times more. Repeat from * to * 1 more time (3rd corner). Repeat ** to ** 10 times more. Repeat from * to * 1 more time (4th corner). Repeat ** to ** 8 more times. Finish this R with 1 SL ST in the 3rd CH of the 4 CH of the beginning of this R. (4 corners of 6 STs = 2 DC, 2 CH, 2 DC. 4 sides of 21 STs = 11 DC, 10 CH. Total 108 STs)
Round 10: 1 CH (does not count as 1 ST), make 1 SC in each of the following STs of PR. In the arcs of 2 CH of each corner make 3 SC. Finish this R with 1 SL ST in the 1st SC of the beginning. (116 SC)
Round 11 and 12: 1 CH (does not count as 1 ST), make 1 SCBL in each of the following STs of PR. In the central SC of the 3 SC of each corner make 3 SCBL. Finish R11 with 1 SL ST in the 1st SC of the beginning. (124 SCBL). Finish R12 with your tapestry needle and Magic Finish, hide strands between the tissue and cut yarn! (132 SCBL)
Final:
With your yarn needle, hide all the remaining strands between the fabric and cut flush with a pair of scissors.
For the ends of R that are exposed you can watch this VIDEO TUTORIAL.
Blocking your garment:
I recommend blocking your garment before releasing it.
To know how to block a garment you can watch the following VIDEO TUTORIAL.
Thanks for your collaboration to Mamma! Do It Yourself.
I hope I can continue with this Project and keep making a Creative World!
Have a beautiful life!
If you want to find more Knit and Crochet Patterns like this, you can visit me here www.mammadiy.es, in my Ravelry as mammadiy and upload your projects, or follow me on Instagram @mammadiypatterns
I would love if you share your progress and pics on Ravelry and IG, please tag me and make community! You can use #mammadiy #mammadiypatterns hashtags also!
You can find me in YouTube as Mamma Do It Yourself. I have my Podcast in English. Ceci’s Podcast
Patrones Gratis
Aquí te dejo una lista de más patrones gratis que encontrarás en este Blog de Ganchillo:
- Granny Square «The Traveling Crochet Afghan«, vídeo tutorial paso a paso y patrón gratis.
- The Happy Tote Bag en Crochet, vídeo tutorial paso a paso para tejer una bolsa en ganchillo.
- The Summer Crochet Top, patrón gratis para tejer un halter top de verano en ganchillo.
- Gorro y cuello Arco Iris con punto relieve en crochet. Patrón gratis con video tutorial.
- Funda de taza con forma de búho a crochet. Patrón gratis con video tutorial paso a paso.
- Monedero con boquilla y tapestry en Crochet. Patrón gratis con video tutorial paso a paso.
- 8 gorros para tejer a crochet en español.
- 10 chales para tejer en español, parte 1.
- 10 chales para tejer en español, parte 2.


Great pattern, Cecilia, and a beautiful square! The video tutorial is so easy to follow, thank you.
There is a difference between the pattern and the video. In R2 the pattern, in English, shows *1dc, 2ch* but the video shows 1dc, 1ch. In the spanish version the pattern shows *1dc, 1ch* but the video shows you doing 2ch!
Could you confirm if Round2 should be *1dc, 1ch* or *1dc, 2ch*?
Thank you
Sue
Should we follow the written instructions or video? For Round 3, it says DC 2ch but you’re video says DC 1 ch. which is correct? The square is beautiful by the way.
First off. Thank you for a beautiful pattern. I live in Georgia – USA. On row 5: On sunbeams (8stitches) you say to CHAIN 1 but at the bottom where you list the 8 stitches you say CHAIN TWO. I am only pointing this out because I had to rip it out and start over and for the stitch count to be right for that row you have to CHAIN two. Hoping this helps others out.
Cecelia, thank you for taking part in the Traveling Afghan project. I am excited to follow along and was thrilled to finally start block #2 from MammaDIY. I am making three Afghans in crochet pattern for my children (and one for me in the knit pattern. Why not?!) Your tutorial for block 2 was extremely helpful and helped me master the pattern. I will post pictures on Instagram once I complete my third block #2 of the different color scheme I am using for my children. I look forward to following your other creative projects.
thank you!!!
Gracias!
In Round 5 the pattern only has one chain in between the two DC stitches, but at the end of the description of that round it says each sunbeam has two chains. Which direction should we follow?
Hola Cecelia, Muchísimas gracias por este granny square. Aunque hablo y entiendo un poco de español, preferí hacerlo en inglés porque entiendo mejor las palabras particulares a ‘crochet» en inglés. Y tu inglés es perfecto. No había ningún problema entenderte. Me encanta el square – entendí perfectamente las instrucciones y el video lo hizo facilísimo. Muy bien hecho. Mil gracias.
Hi Cecelia, Thank you so much for this granny square. Although I speak and understand a little Spanish, I preferred to do it in English because I understand the special «crochet» words better in English. Your English is perfect. There was no difficulty whatsoever in understanding you. I love the square – I understood the directions perfectly and the video made is really easy. Well done. Thanks again.
thank you so much!!!
For row 5 of the crochet square, the instructions say SC, DC in one stitch, then CH, SC, DC in the next stitch. Yet later it says that each sunbeam has 2 CH between the DCs. Where does the extra CH come from? Thank you!
Thank you for Square 2. I enjoyed making it while daydreaming of the beautiful Spanish sun. I found the video tutorial to be very helpful at a number of steps during the stitching,. It’s blocked now and I am looking forward to sewing it to the first square.
I don’t understand how the stitch count for round 8 gets to 92. You are adding 3 sc into 2 ch in the corner which would only add 4 total stitches to make the stitch count 88?
I have a question about round 5. In the written pattern you state that a total of 8 stitches make up the «sunbeam» but I’m only counting 7 based on watching the video. At the end in the written pattern you have 2 ch stitches but in the video there is only 1 ch (with the exception the first beam which has a ch 1 to start the round. My end stitch count keeps coming up short because of this. What is the actual count of each beam, 7 or 8?
Quiero saber cómo están uniendo cada cuadro. Ya termine el tercero pero no sé cuál es la manera de unirlos. GRACIAS ?
en mi canal de Youtube tienes varios tutoriales!
Thank you for sharing this beautiful pattern. Like many others I am confused on Round 5. I did not see your response to any of the questions. Is there a corrected version of the pattern somewhere. I am anxious to finish the toaster cover I am making for my aunts. Regards, Mary Carol Ivie
I’m stuck on round 8. I have the right stitch count on the previous round but when I finish round 8 my stitch count is wrong. It says 92 sts and I end up with 88sts
Your English was fine! Thank you!
thank you so much!
On round 8, I don’t end with 92 stitches. With end count of 84 on round 7, only adding 1 stitch extra sc in the ch 2 space on the corners, adds up to 4 more stitches. What am I missing to get my end count to be 92 on round 8?
Me gusto mucho el tutorial, es muy claro y fácil de seguir.
gracias!!
OK. Ending row 7 with 84 stitches. Ending row 8 with 92… but you’re only adding 4 stitches from row 7 to row 8 so I keep ending row 8 with 88 stitches. Where are the extra 4 stitches that I need to equal 92?
Thank you for this fantastic tutorial – so easy to follow. Tu ingles es perfecto!